How to remove salt build up in an outboard motor.

In this blog we'll answer a very common question which is how do you remove salt build up in your outboard motor? Although sailing in the open ocean and salt water is thrilling, the damage that salt water may cause to an outboard engine should not be overlooked. Fortunately, outboard motor owners may take certain preventative care and maintenance procedures to guarantee that their outboard motors perform well for years. From as simple as hosing down the outside, to flushing the inner workings with desalter, this article will walk you through step by step how to remove salt build up from an outboard motor. The next time you take your boat out of the water, keep this list in mind:
Engine flushing:
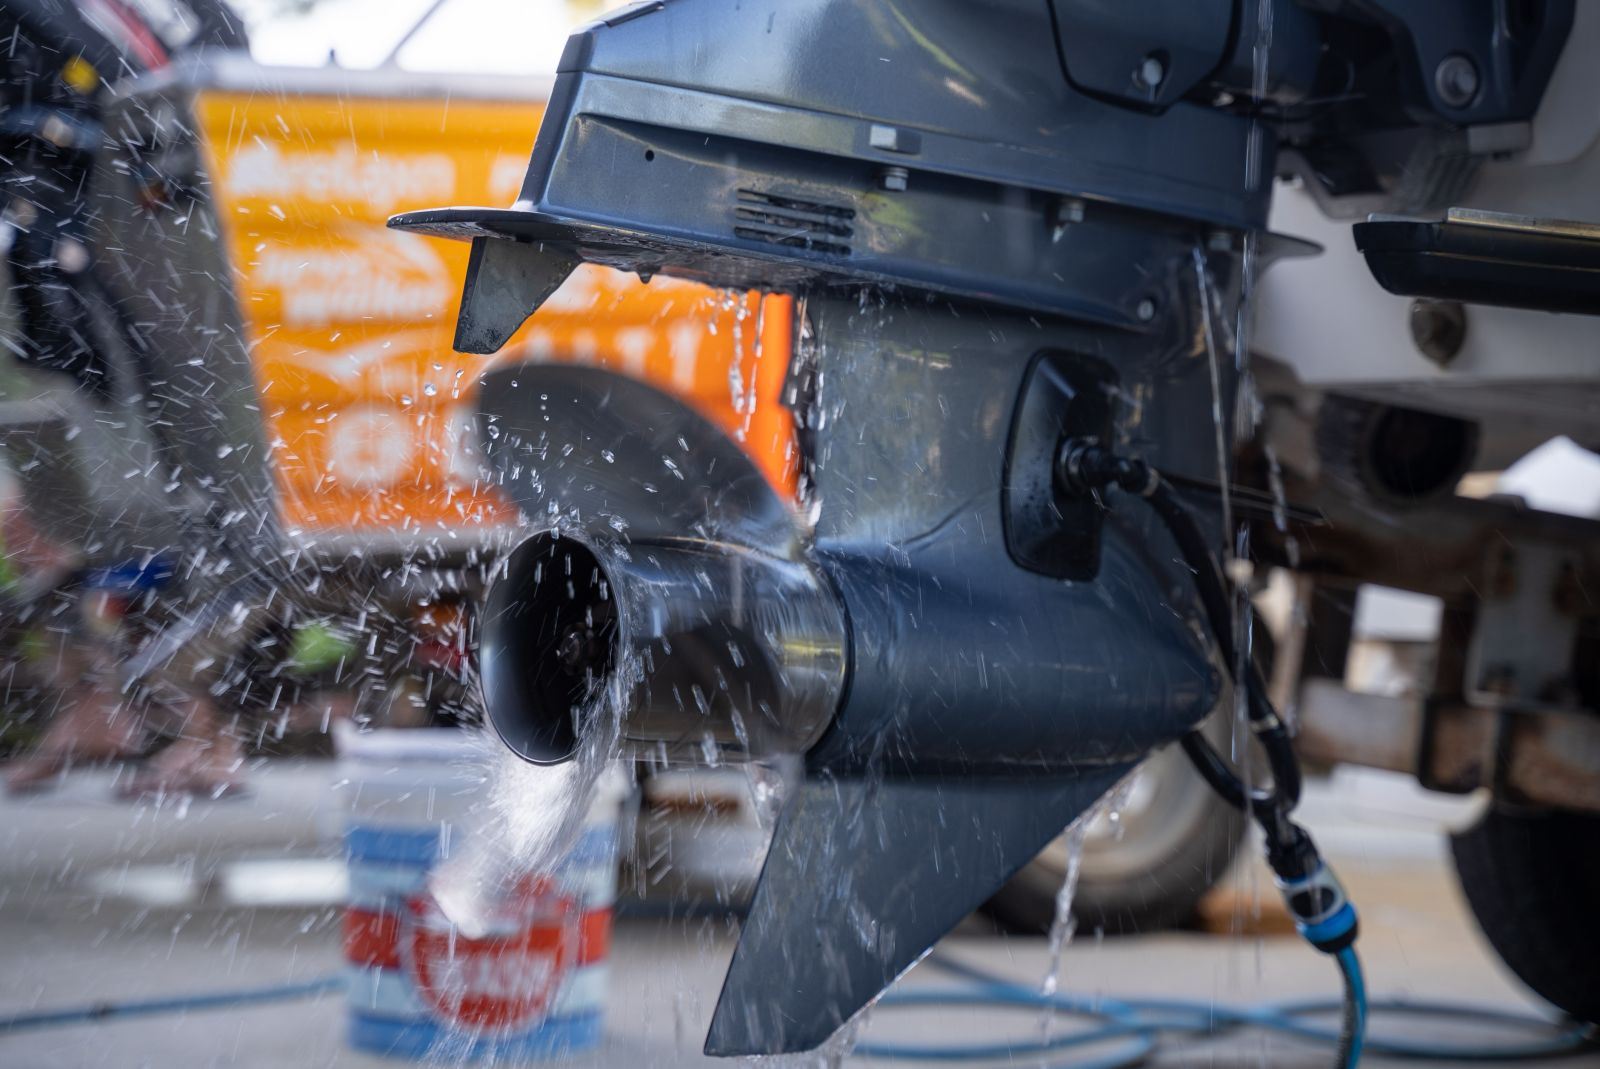
After each saltwater use, flush the engine with fresh water to ensure that there is no corrosive salt accumulation or debris. Apply a flushing adaptor or 'flush muffs' (otherwise known as rabbits ears or muff flushers), that fit snugly and run the engine for 5 - 7 minutes to empty out any remaining saltwater. The flush muffs slide over the water intake to create a vaccum seal that will push out salty water that remains. For older motors use rounded flush muffs and for newer outboard motors with bigger water intakes uses any of the oval/rectangular flush muffs. Some of the larger outboard motors will generally have a built in flush attachment that does not require flush muffs. Make sure to keep an eye on these flush muffs whilst the engine is running as the vibration from the engine will sometimes shake them loose.
Clean the Exterior:
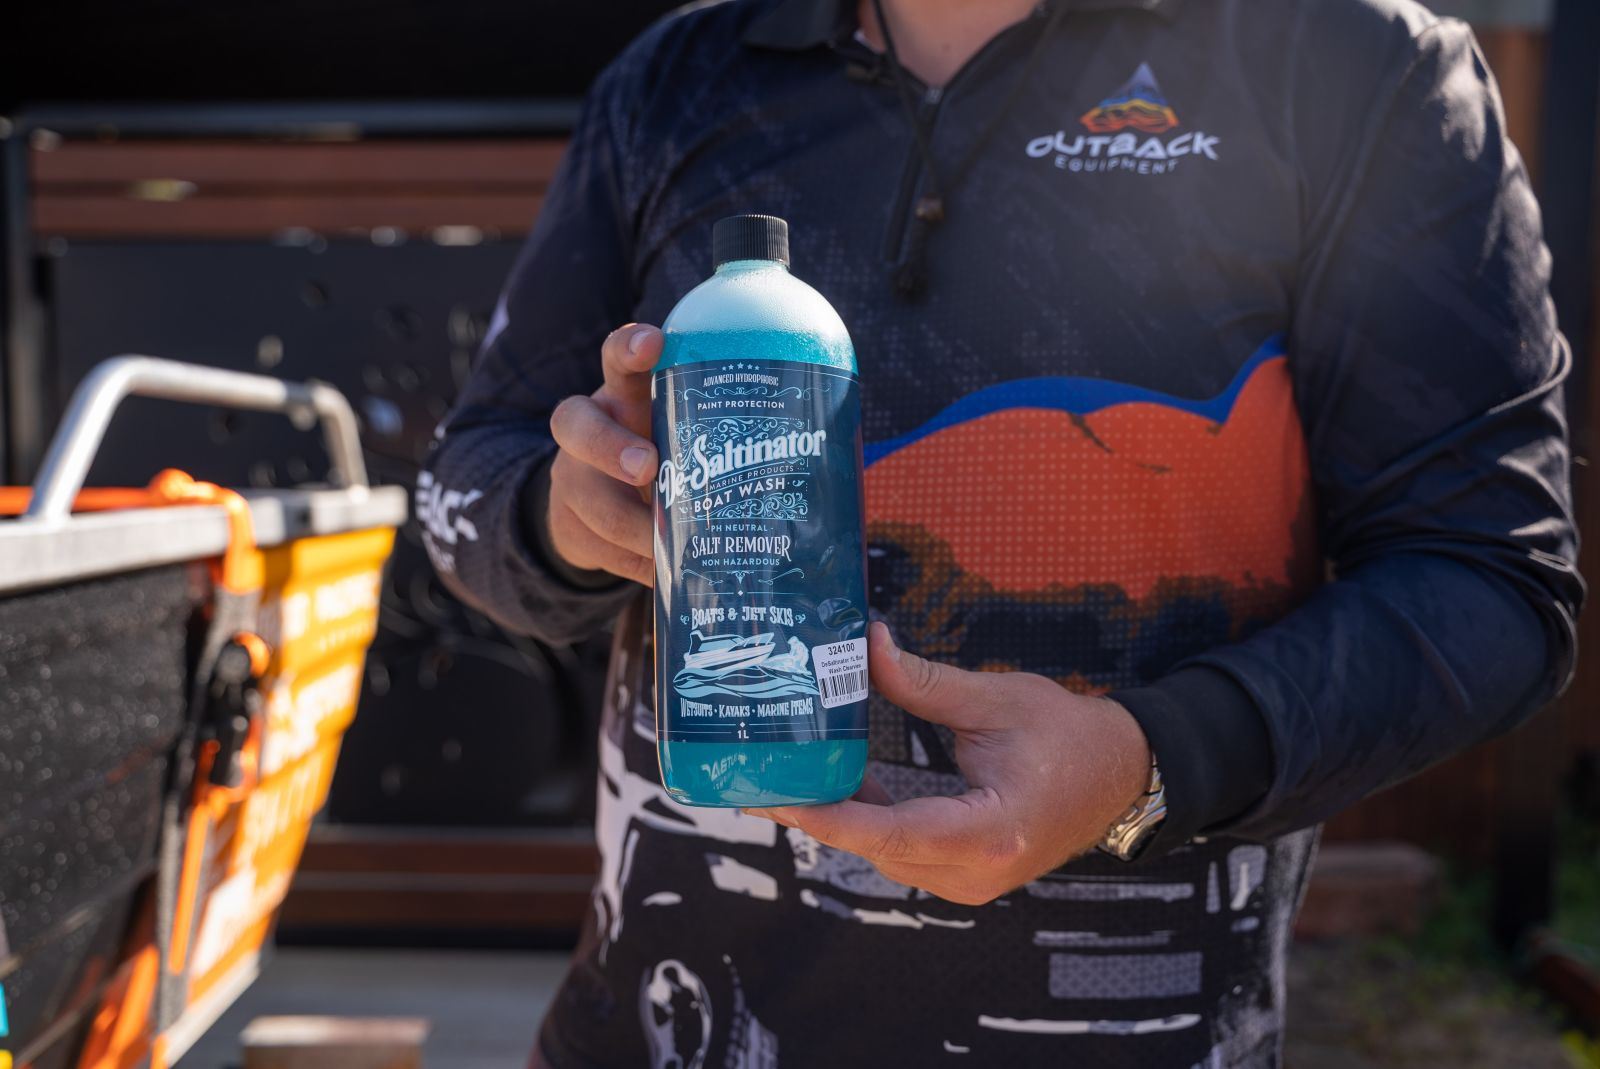
It's critical to remember to wash and wax the exterior of your boat every time you take it out of the water. Regular cleaning and waxing not only keeps the outboard motor clean, but it also makes it look wonderful and protects it from hazardous salt accumulation. Use a trusted desalter such as Salty Captain or Sam Allens Desaltenator on the entire exterior of the boat including the outboard motor. To safeguard against damage, add a high-quality marine wax after washing.

Apply Silicone Spray as follows:
Remove the engine hood several times over the summer and coat the power head with a high-quality silicone spray that won't harm rubber or plastic. Every third or fourth expedition, remove the engine cover and reapply the silicone spray. Salty Captain make a great lanoline spray that does the trick and can also be used on seats to prolong the life of the material.
Minor damage:
Although nicks and scratches in the paint job are a common occurrence with outboard motors, they leave regions prone to corrosion, rust, and seawater damage. Examine the outboard for any nicks or scratches on a regular basis and repair them as soon as possible with matching marine paint. If the nick is deep, fill it in with a high-quality metal primer before painting.
Components to be greased:
An outboard engine's moving components are coated in grease from the manufacturer to keep them greased and working smoothly. Saltwater depletes the grease layer over time, exposing the moving parts to friction and damage. Keep the components oiled and protected against corrosion, rust, and wear with a grease gun.
Limit sun exposure:
Sunlight deteriorates rubber and plastic structures, exposing them to further harm. Keep your boat and outboard motor out of direct sunlight whenever feasible. If you don't have access to a designated garage or outbuilding, invest in a high-quality, UV-blocking canvas boat cover that fits your outboard properly. We've all seen what salty water, sun, wind and water can do to a coastline over a few years, the same goes for any vessel that frequents the ocean. Protecting your entire boat when not in use will add years to it's exterior.
Although seawater can readily harm an outboard motor, saltwater boating is not necessary. Instead, pay close attention to routine and preventative maintenance to keep your outboard motor clean when using it in saltwater. No matter how often you hit the sea, these simple tips and tactics will ensure that your outboard motor stays in terrific shape.


Leave a comment